Hi everyone! In this post of the blog we will learn how to assembly the oboe following a few steps and avoiding possible damages in the mechanism.
First of all we will introduce the subject with the parts of the instrument. The body of the oboe is a conical tube that consists of 3 sections:
– The upper body
– The lower body
– The bell
The diameter of the opening through which we introduce the double reed is approximately 0.47 cm and 1.58 cm at the beginning of the bell. The bells can have different shapes and final diameters depending on the constructor and the requirements of the player. The length of the oboe, including the reeds, is approximately 65 cm.
How to assembly the oboe?
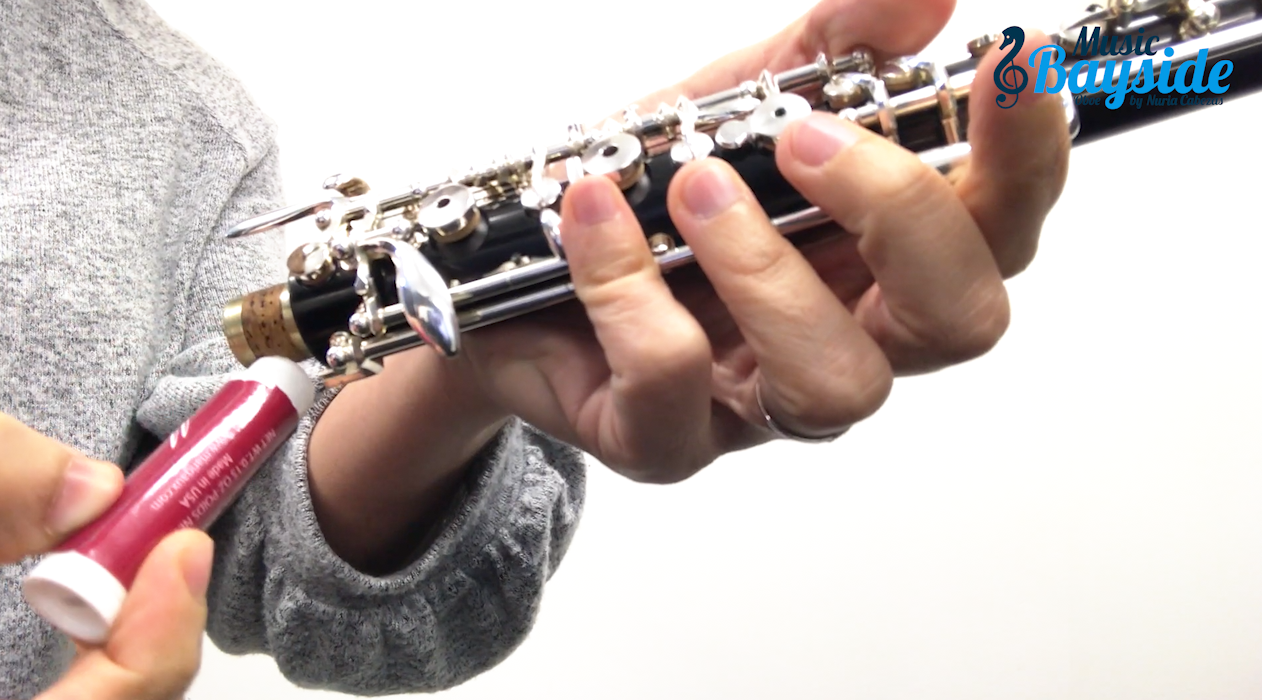
We need to take into account the hydration of the corks.
Both the upper body and the lower body have a spike covered with cork to facilitate the union between them. They must be in good condition and hydrated. For this we can use specific cork or petroleum jelly fats and apply it before we assembly the part together.
Steps to follow in order to assembly the Oboe
It is important to take into account from where should we take each part of the oboe for assembly.
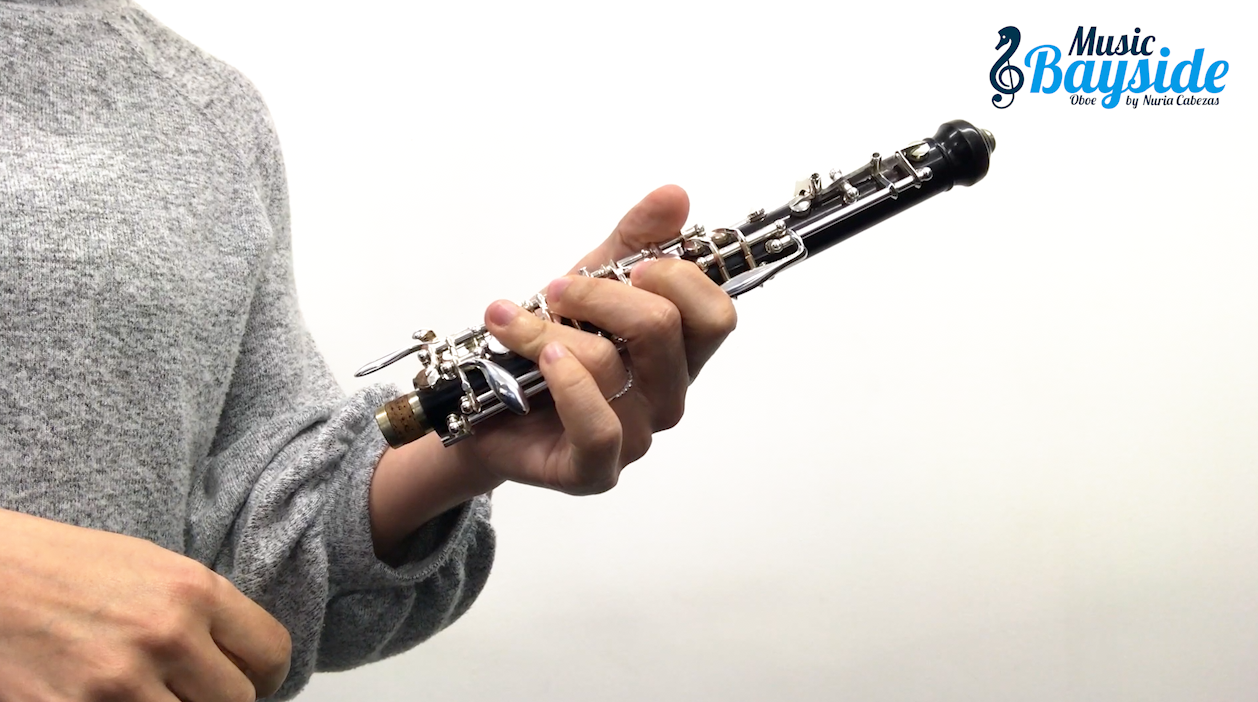
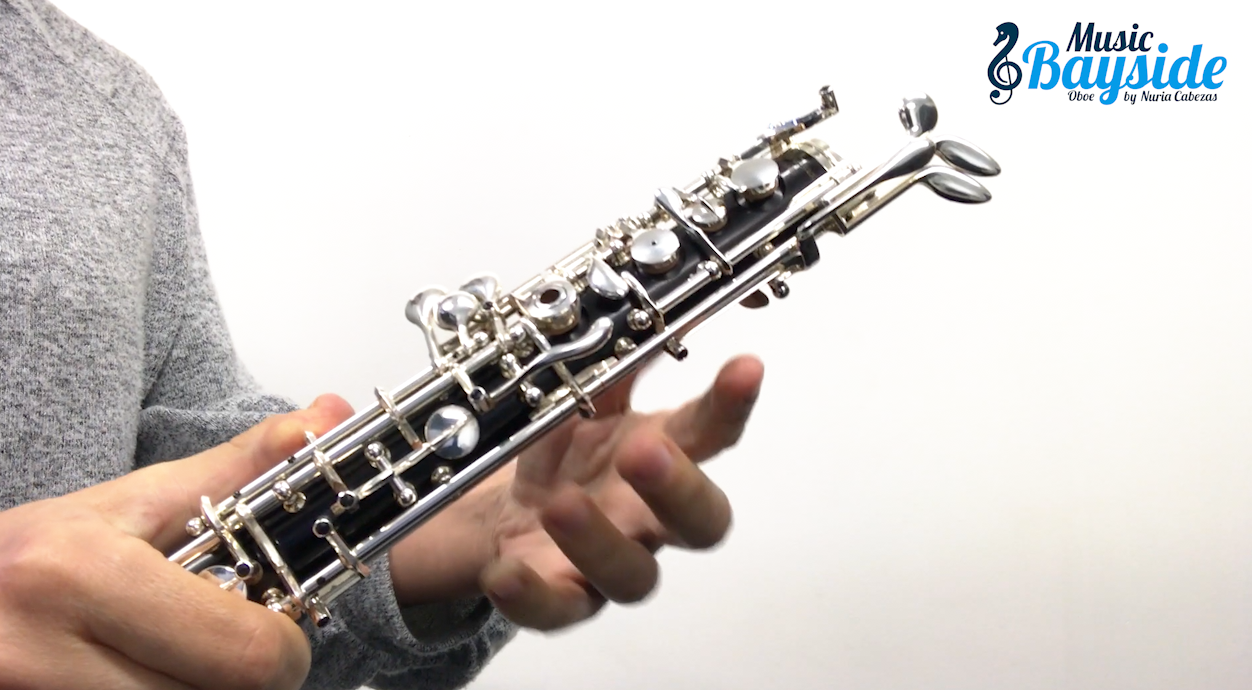
Upper body
We support the upper part of the oboe on the palm of the left hand. We stretch the thumb and close the keys B, A and G with the index, middle and ring fingers.
We will avoid making force on the mechanisms and keys that stand out.
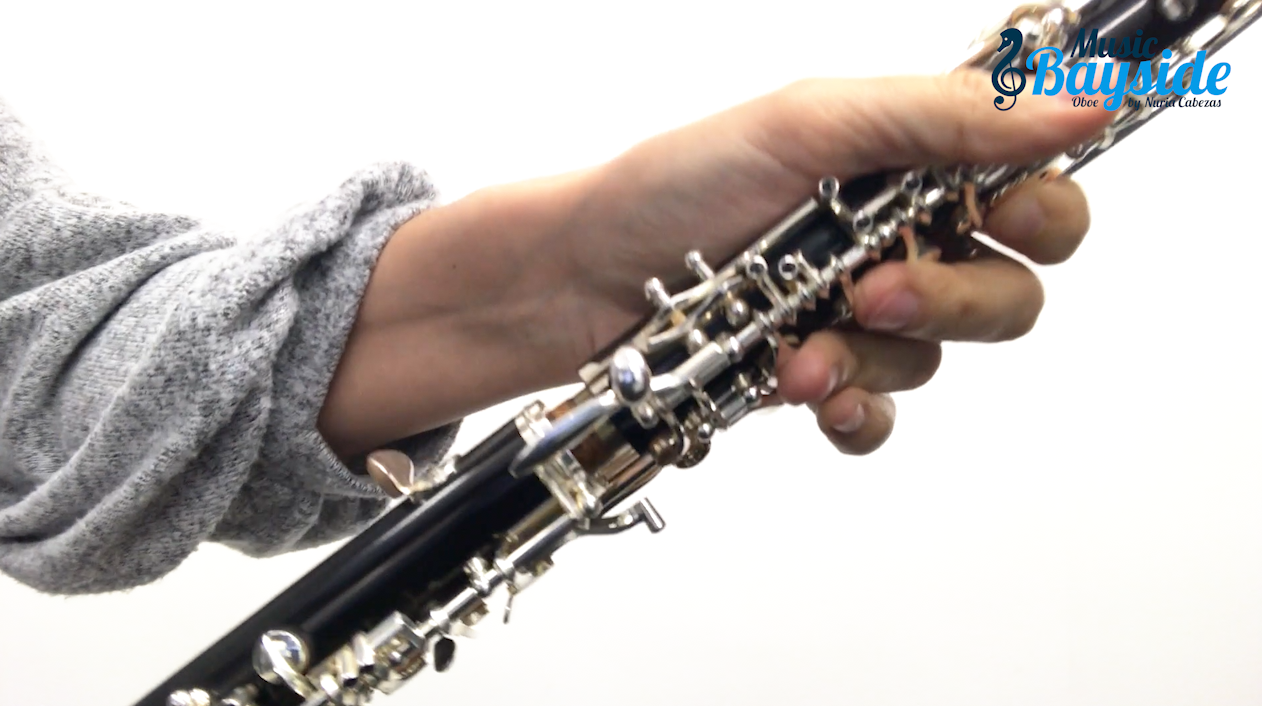
Lower body
We take the lower body with the right hand. With the thumb we will close the B and C keys. As with the upper body, avoid applying pressure that could damage the mechanism or the keys standing out from the body.
STEP 1
When joining the upper part with the lower part, we introduce the upper part slightly turned to the left and place it turning a quarter of a turn. We must make sure that the bridge key adjust with the F link key of the lower body and be perfectly aligned.
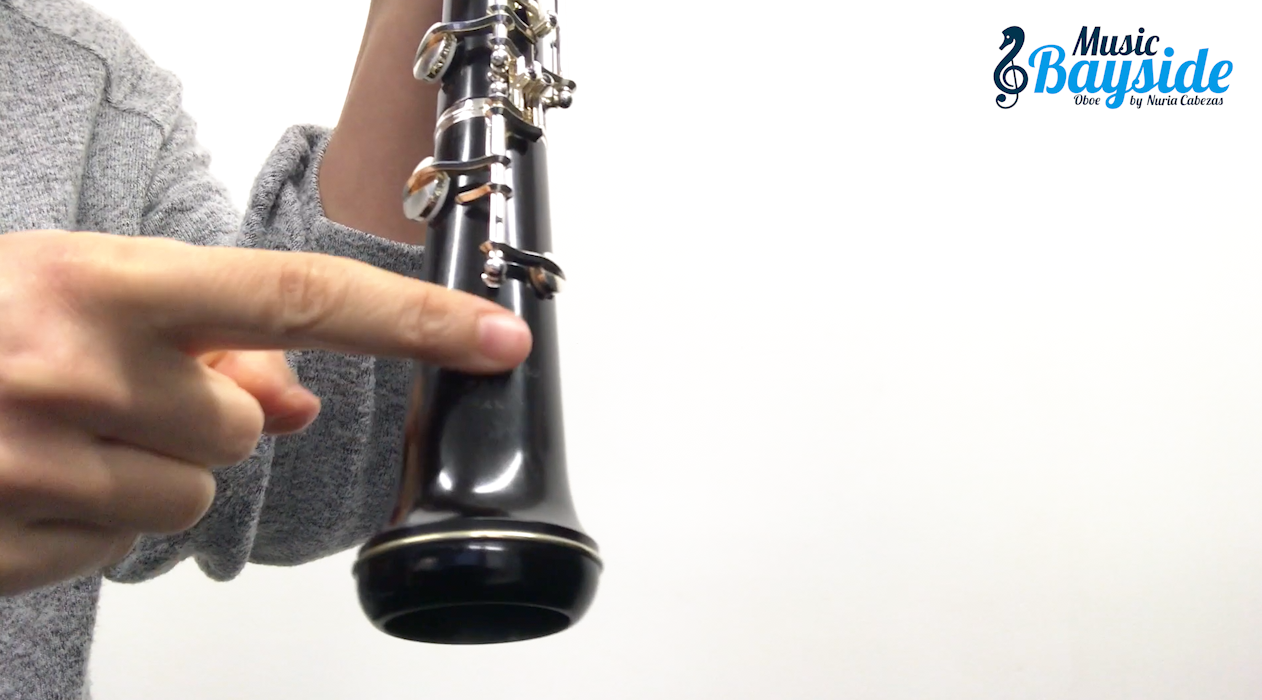
Bell
We hold the bell with the right hand and with the thumb closing the tab of Bb and the tab that holds the resonance key right next to it. With this we get the bridge key to rise, helping us to avoid misalignments due to a bad assembly.

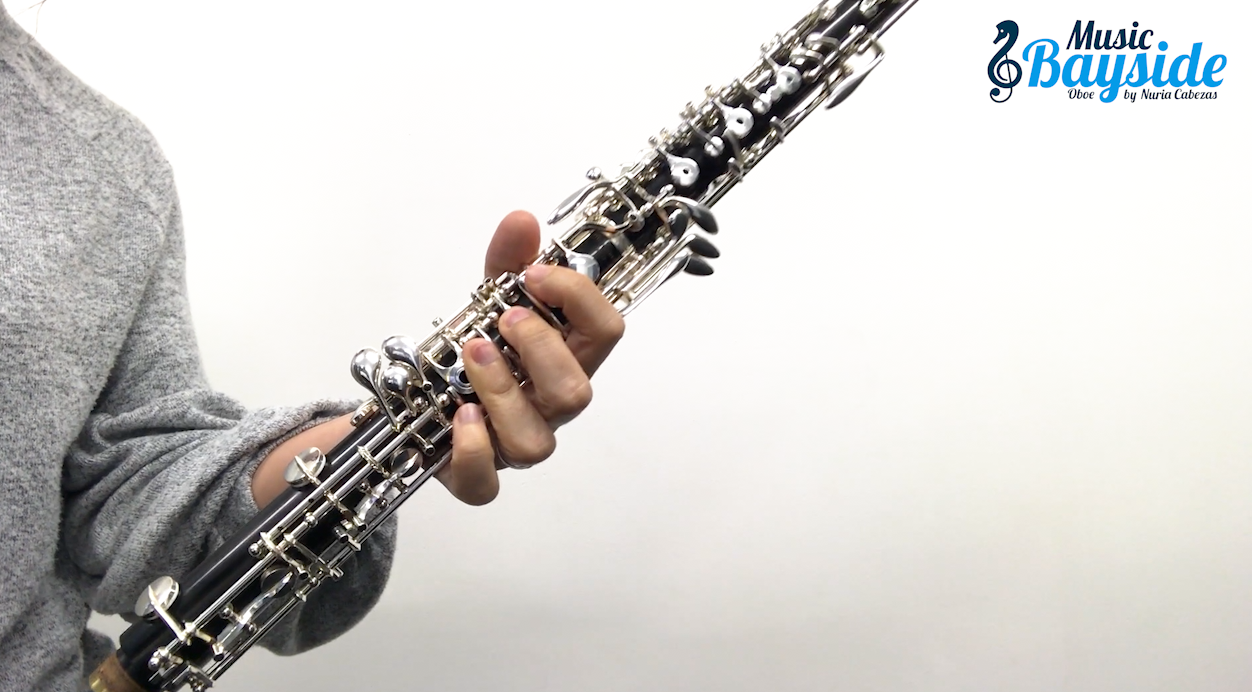
Top + Bottom
We take the union of the upper part plus the lower part with the left hand. We support it on the palm of the open hand and the thumb stretched. With the index, middle and ring fingers we close the keys of F #, E and D.
STEP 2
When joining the upper + lower part to the bell we introduce the bell slightly turned to the left and place it in its place by turning a quarter of a turn. We must note that the key bridge of both bodies is aligned.
Both the keys and the brand logo of the instrument should always be facing upwards.
We must always take care of our instrument, avoid knocks and falls and do not touch springs and screws without previous guidelines. Repairs are delicate and expensive.
Disassembly the Oboe
We do exactly the same steps but in reverse.
STEP 1
First we separate the bell from the lower body + the upper body. Getting it exactly the same way than when we were assembling the instrument. Once separated we place the bell on the case.
STEP 2
We separate the lower body from the upper body. We will take the parts with the same positions of the hands as to assemble them. Once separated, we place them on the case to clean them one by one.
I advice you not to put anything else in the compartment where the oboe goes. I’m talking about sheet music, screwdrivers, cleaners, tuners, blades, cases, etc. because it could affect the mechanism of the oboe. It could also be damage by extra pressure.
Tips to consider
Tip nº 1: Make sure that the case in resting on the base and is not turned over. It could fall when opened on the wrong side. Some cases make difference between upper and lower part in a clear way, with which there is no doubt. At the beginning it is important to take it into account.
Tip nº 2: While you assembly the instrument you can take the opportunity to wet the reed so then it will be ready to play after you have done.
Tip nº 3: Do not make too much pressure with your fingers on the instrument during assembly. We have to hold it securely but we must avoid damaging the mechanism.
I hope this content will be of great help to you!
Check out the full video on how to correctly assembly the oboe!! 🙂
I leave you here the links to the products in case you may need them! 🙂
Special cork grease
https://amzn.to/2IjXLCa
https://amzn.to/2E9sqje
https://amzn.to/2Ec1ajT
Neutral Vaseline
https://amzn.to/2GLjuWp